Introduction
In the world of Linux, Ubuntu stands tall as one of the most popular distributions, known for its user-friendliness and versatility. If you’re a Ubuntu user who regularly works with external disks or additional storage devices, you might find it inconvenient to manually mount them every time you boot your system. Fortunately, Ubuntu provides a way to automate this process, allowing you to effortlessly access your disks without manual intervention.
In this step-by-step guide, we’ll walk you through the process of automatically mounting disks at system startup in Ubuntu. We’ll also ensure that your system remains bootable, even if the disk is not available. Let’s dive in!
Steps to Automatically Mount Disks at System Startup in Ubuntu
Step 1: Identify the Disk’s UUID
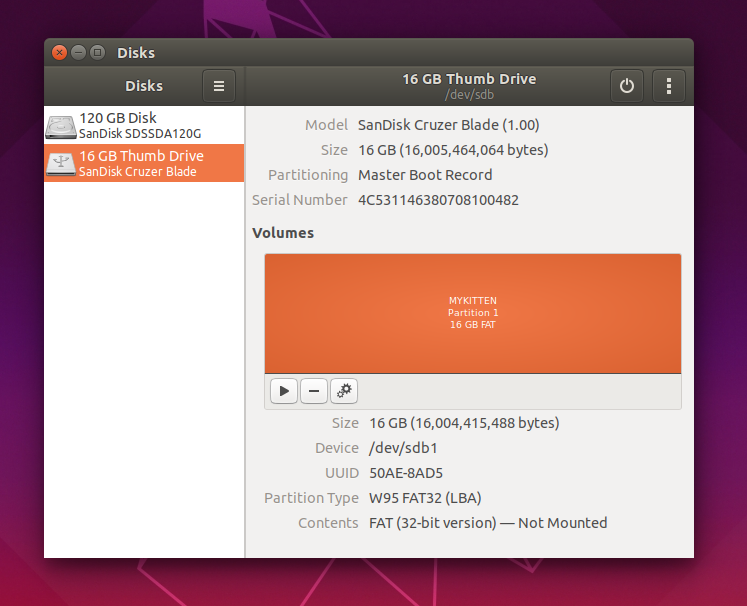
Before we can automate the disk mounting process, we need to identify the UUID (Universally Unique Identifier) of the disk partition you want to mount automatically. To do this, open your terminal and run the following command:
sudo blkid
This command will display a list of storage devices and their corresponding UUIDs. Make a note of the UUID of the disk partition you want to automate.
Step 2: Create a Mount Point
Next, choose a directory on your system where you want to mount the disk. For this example, we’ll create a directory named « /mnt/mydisk. » You can use a different name or location if you prefer:
sudo mkdir /mnt/mydisk
Step 3: Edit the /etc/fstab File
The /etc/fstab file is where you define the mounting options for your disk. Open this file in a text editor with superuser privileges. You can use a command like sudo nano or sudo vim:
sudo nano /etc/fstab
Add the following line to the end of the file, replacing UUID_OF_YOUR_DISK with the actual UUID you noted in Step 1:
UUID=UUID_OF_YOUR_DISK /mnt/mydisk ext4 defaults 0 0
The fields in this line represent:
UUID_OF_YOUR_DISK: Replace with your disk’s UUID./mnt/mydisk: Replace with your chosen mount point.ext4: Replace with your disk’s filesystem type.defaults: Mount options (customize as needed).0 0: Values for filesystem checks (leave as is).
Step 4: Save and Exit
Save the file and exit the text editor.
Step 5: Test the Configuration
You can test your configuration without rebooting by running the following command:
sudo mount -a
This command should successfully mount your disk at the specified mount point.
Step 6: Reboot
To ensure your changes take effect, reboot your Ubuntu system:
sudo reboot
Conclusion
Automating the process of mounting disks at system startup in Ubuntu not only saves you time and effort but also ensures easy access to your data without manual intervention. By following these simple steps and configuring your /etc/fstab file correctly, you can seamlessly integrate your external disks into your Ubuntu system.
Now, your chosen disk will be automatically mounted each time you boot your Ubuntu system. Even if the disk is unavailable during startup, Ubuntu will continue to boot smoothly. Enjoy the convenience of hassle-free disk management in your Ubuntu environment!
Laisser un commentaire
Vous devez vous connecter pour publier un commentaire.