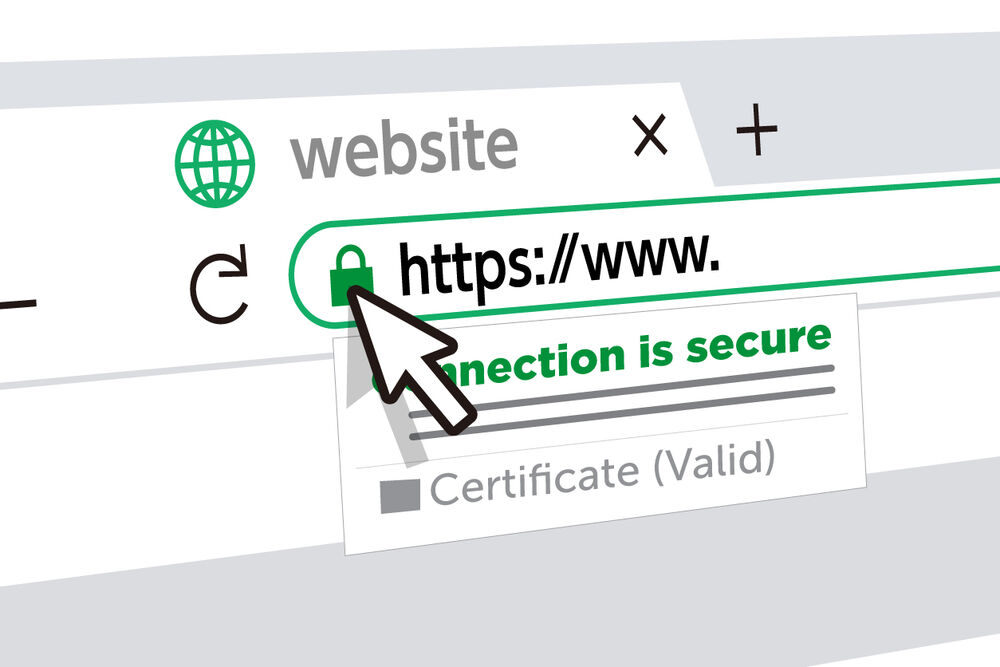
In today’s interconnected world, securing online communications has become more crucial than ever. One of the most widely used security protocols for establishing a secure connection between a web server and a client is SSL (Secure Sockets Layer). SSL certificates encrypt data and provide authentication, ensuring that sensitive information remains private and protected from unauthorized access. While obtaining SSL certificates from trusted Certificate Authorities (CAs) is the recommended approach, there are cases where a self-signed SSL certificate can be useful, such as in local development environments or for personal experimentation.
In this blog post, we will explore the process of creating a self-signed SSL certificate for Nginx, a popular web server, on an Ubuntu 22.04 operating system. We’ll guide you through the necessary steps, from generating a private key to configuring Nginx to utilize the newly created certificate. By the end of this tutorial, you’ll have a functioning SSL certificate that can secure your Nginx-powered website.
Securing your website with SSL is essential for maintaining the privacy and integrity of user data. Whether you’re a developer testing your application locally or an enthusiast setting up a personal server, understanding how to generate a self-signed SSL certificate is a valuable skill. So, let’s dive in and learn how to create a self-signed SSL certificate for Nginx in Ubuntu 22.04, ensuring a secure browsing experience for your users while keeping your data safe from prying eyes.
To create a self-signed SSL certificate for Nginx in Ubuntu 22.04, you can follow these steps:
Step 1: Update System Packages
sudo apt update
sudo apt upgrade
Step 2: Install OpenSSL
sudo apt install openssl
Step 3: Generate a Private Key
sudo openssl genpkey -algorithm RSA -out /etc/nginx/private.key
Step 4: Generate a Certificate Signing Request (CSR)
sudo openssl req -new -key /etc/nginx/private.key -out /etc/nginx/csr.pem
During this step, you will be prompted to enter information such as the Common Name (CN), Organization, Country, etc. Make sure to enter the appropriate details for your SSL certificate.
Step 5: Generate a Self-Signed Certificate
sudo openssl x509 -req -days 365 -in /etc/nginx/csr.pem -signkey /etc/nginx/private.key -out /etc/nginx/certificate.crt
Step 6: Configure Nginx
Edit the Nginx configuration file using a text editor of your choice. For example:
sudo nano /etc/nginx/sites-available/default
Inside the server block, add the SSL configuration:
server {
    listen 443 ssl;
    server_name example.com;

    ssl_certificate /etc/nginx/certificate.crt;
    ssl_certificate_key /etc/nginx/private.key;

    # Additional SSL configurations (e.g., SSL protocols, ciphers)

    # Rest of your server configuration
    ...
}
Step 7: Test Nginx Configuration
sudo nginx -t
Make sure the configuration test is successful.
Step 8: Restart Nginx
sudo systemctl restart nginx
That’s it! You have created a self-signed SSL certificate for Nginx in Ubuntu 22.04. Please note that self-signed certificates are not trusted by default in web browsers, so you may see a warning when accessing your website. To avoid this, consider using a certificate issued by a trusted Certificate Authority (CA) for production environments.
Laisser un commentaire
Vous devez vous connecter pour publier un commentaire.